
How to Set Default Audio Device in Windows 11 (Complete Guide)
If you’ve ever connected a headset, monitor, or Bluetooth speaker to your PC only to have Windows start routing audio to the wrong device, you know how annoying it can be. One minute, your music is playing through your speakers, and the next minute, Windows decides your monitor or that gaming headset you plugged in weeks ago should handle everything.
This happens because Windows 11 automatically picks a default audio device whenever multiple output sources are connected, and it might not always pick the one you actually want. The good news is you can take control of this yourself by setting up a preferred default audio device, ensuring Windows prioritizes that device whenever it is available.
That said, setting a default device isn’t always a one-and-done process. Some users set their preferred device only for Windows to switch back to another one after a restart, usually because of companion software or driver quirks. In this guide, we will walk through the different ways to set up a default audio device in Windows 11 and what to do when your settings refuse to stick.
Before You Start: Default Device vs. Default Communication Device
Windows 11 actually allows you to set two separate default outputs:
- Default Device: Handles general audio playback like music, web videos, games, and system notification sounds.
- Default Communication Device: Handles calls and audio from communication applications like Microsoft Teams, Zoom, and Discord.
This distinction is useful if, for example, you want music and games to play through your desktop speakers while voice calls automatically route through your headset. Keep this in mind when selecting your output options.
Method 1: Set the Default Audio Device via Quick Settings
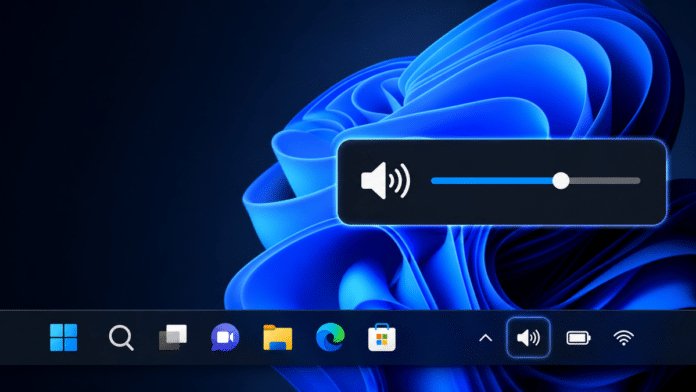
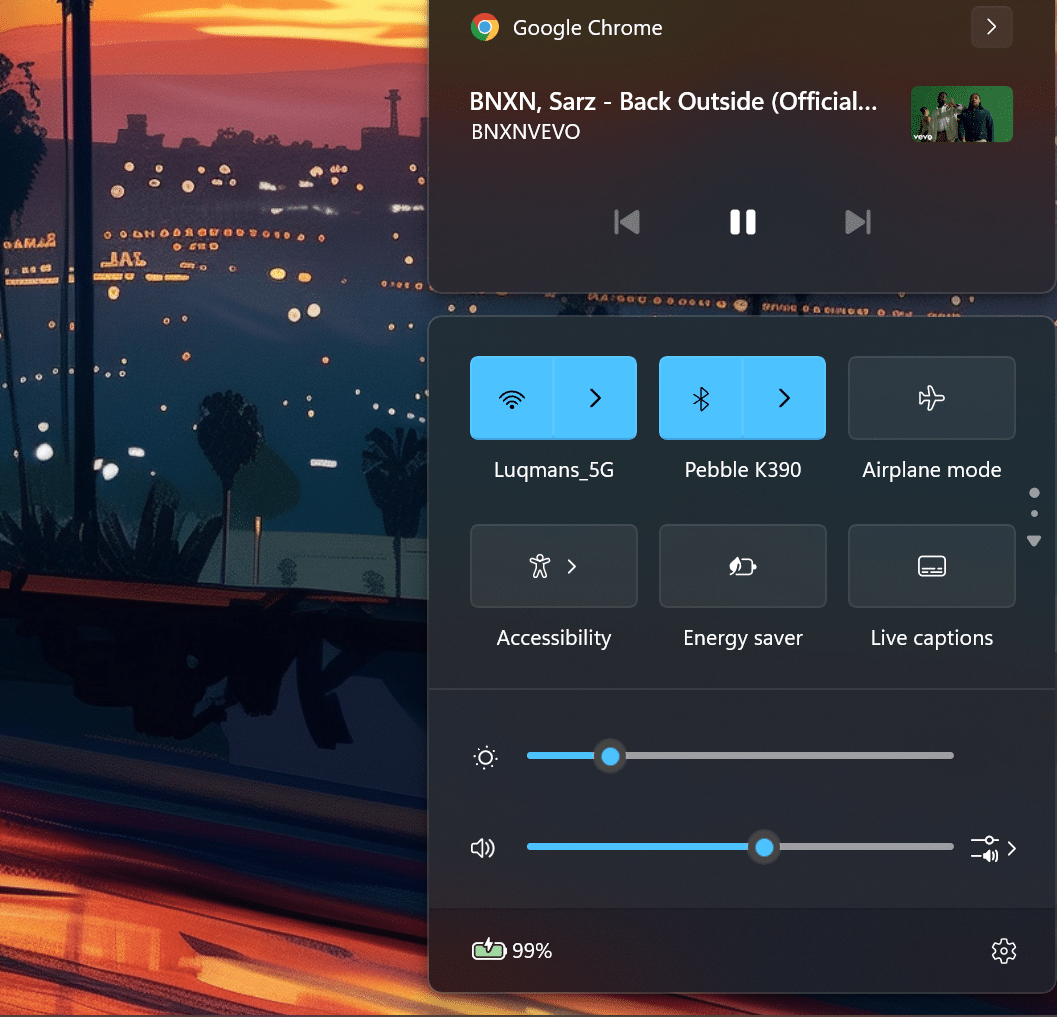
The fastest way to switch your active audio output device is through the Quick Settings panel on the Windows taskbar:
- Press Windows + A to open the Quick Settings panel.
- Click the arrow (>) beside the volume slider to open your sound output list.
- Select the audio device you want Windows to use.
- Click anywhere outside the panel to close it.
The device you pick becomes your active output right away. It is ideal for fast switches, but for a permanent default setup, consider using the Settings app.
Method 2: Set the Default Audio Device via Windows Settings
The main Settings app provides broader control over your audio hardware and lets you establish a permanent preferred default:
- Press Windows + I to open the Settings app.
- Select System from the left sidebar, then click on Sound.
- Under the Output section, click Choose where to play sound to expand your connected devices.
- Select the radio button beside the device you want to assign as your default.
Once selected, Windows will route all audio to that device whenever it is connected. You can also visit Advanced > All sound devices to manage individual device properties like testing or disabling inputs and outputs.
Method 3: Set the Default Audio Device via the Sound Control Panel
For detailed configuration, the classic Sound Control Panel applet allows side-by-side control for general and communication defaults:
- Press Windows + R to open the Run dialog box.
- Type mmsys.cpl and press Enter.
- Under the Playback tab, click on the device you want to configure as your default.
- Click Set Default at the bottom of the window.
- Optionally, click the drop-down arrow beside Set Default and choose Default Communication Device if you want a secondary device handling voice calls.
- Click Apply, then OK.
Troubleshooting Tip: If your preferred device isn’t visible in the Playback list, right-click anywhere inside the empty area of the tab and enable both Show Disabled Devices and Show Disconnected Devices. If the device appears grayed out, right-click it and select Enable first.
Method 4: Set Default Audio Device Using PowerShell (Advanced)
If you manage multiple PCs or prefer command-line execution, you can set the default audio device using PowerShell with the third-party AudioDeviceCmdlets module:
- Search for PowerShell in Windows Search, right-click it, and select Run as administrator.
- Install the module by running the following command:
Install-Module -Name AudioDeviceCmdlets
- If prompted, type Y and press Enter to confirm installation.
- List all available audio devices and note their index numbers:
Get-AudioDevice -List
- Set your preferred default device using its specific index number (replace ‘2’ with your device’s actual index):
Set-AudioDevice -Index 2
To assign it solely as the default playback device without affecting communication settings, append the flag:
Set-AudioDevice -Index 2 -DefaultOnly - Close PowerShell and confirm the changes have taken effect.
What to Do If Your Default Audio Device Keeps Changing
If Windows constantly reverts your audio output back to a monitor or headset after every system restart, check these common fixes:
1. Disable Peripheral Companion Software at Startup: Gaming headsets and external sound cards often ship with utility software (such as SteelSeries GG, Logitech G HUB, or Razer Synapse). These applications often reset default devices upon startup. Press Ctrl + Shift + Esc to open Task Manager, head to the Startup apps tab, and disable these utility launchers.
- Restart App-Specific Audio Streams: Some applications lock onto their own audio outputs upon launch. If a specific app ignores global Windows default changes, close the app entirely and relaunch it.
- Assign Per-App Audio Routing: Instead of fighting global defaults, customize app outputs individually. Go to Settings > System > Sound > Volume mixer and assign specific devices to specific applications (e.g., Spotify on speakers, Discord on headset).
- Update or Reinstall Drivers: Disappearing or unstable devices can stem from corrupted audio drivers. Open Device Manager, expand Sound, video and game controllers, right-click your audio device, and select Update driver or reinstall it.
Tips for Managing Audio Devices in Windows 11
- Per-User Configuration: Audio defaults are tied to user profiles. If multiple user accounts share a single Windows 11 PC, each user maintains separate default audio options.
- Automatic Disconnect Fallback: Windows only routes audio to active, connected hardware. If your designated default device is disconnected, Windows falls back to the next available output and automatically switches back when reconnected.
Frequently Asked Questions (FAQ)
Why does Windows 11 keep switching my default audio device after a restart?
In most cases, startup companion software (like Razer Synapse or Logitech G HUB) overrides Windows preferences upon system boot. Disabling these applications from the Startup tab in Task Manager resolves the issue for most users.
Can I set different audio devices for different apps in Windows 11?
Yes. Navigate to Settings > System > Sound > Volume mixer. Under the Apps section, you can select customized output and input devices for individual applications.